Sunday, February 5, 2012

Trifecta Meatballs

I came across the recipe for Easy Slow  Cooker Meatballs on one of my favorite sites, AllRecipes.com.  The recipe as published is very easy but I knew I could make it better and in reading the comments from other people about the recipe, it became obvious that there were a few errors in the recipe and that the meatballs and sauce were turning out both a bit bland and too greasy.

I know from watching my Italian father-in-law that meatballs always turn out better when a mix of meats are used. So, Trifecta Meatballs were born....

Trifecta Meatballs

Note:  I have a large slow cooker and my recipe below makes a LOT of meatballs (50+).  We had a nice amount left over to freeze.  You can cut down the ingredient amounts below to produce a smaller batch (although, if you're going to go to all the trouble... why not make the big batch and freeze them?)

1 lb ground pork
1 lb ground veal
1 lb ground lamb

(Note:  you can get fresh ground veal and lamb at any good butcher counter like what is found at Whole Foods, New Seasons, etc.  I found it frozen at Haggen's and used that).

1/2 cup chopped fresh parsley or 3 tbsp dried parsley
4 cloves garlic, minced
3 tbsp Italian seasoning

1 medium yellow onion, chopped or 1/2 cup dried chopped onion
2 eggs, beaten
1/4 cup grated Parmesan cheese
1/2 cup-1 cup Italian seasoned bread crumbs

1 (12oz) cans tomato paste
2 (24oz) jars spaghetti sauce (a third may be needed/desired)
1 tbsp sugar
2 cups chopped fresh mushrooms
6-8oz of red cooking wine (optional)

Take meat out of refrigerator about 30 min prior to starting to let some of the chill out of it.  That will make it easier to mix, not as cold on your hands, and the prepared meatballs will be better prepared to go in to a hot oven.

Preheat oven to 350.

In a large bowl, combine meat, parsley, garlic, Italian seasoning, onion, egg and cheese.  The best way I've found to mix up ground meat like this is to just use my hands.  Mix up everything very well, being sure to mix the different meats together.  Combine the bread crumbs in to the mixture until it is a consistency that will easy form together.

Coat baking sheets (you'll need 2) with cooking spray.  Form meat mixture into meatballs approx 1-1.5" in diameter and place on baking sheets with at least 1/4" spacing between them.


Bake meatballs for 20 minutes.  Immediately transfer them to another baking sheet that is lined with a few layers of paper towels to drain them.  Pat them firmly on top with another paper towel to soak up additional grease.


In slow cooker, combine tomato paste, 2 jars of the spaghetti sauce, sugar, and about 4oz of the wine.  Stir it all together well and then stir in the mushrooms and meatballs. 

Cook on low for 6-8 hours.

As usual, my slow cooker had these completely cooked and ready within 4-5 hours.  As they cooked, I stirred them every hour and also tasted the sauce, adding the rest of the wine along the way.  I also sprinkled in about a teaspoon of red pepper flake as the sauce was a bit bland for our taste.  You could also add some red pepper flake to the meatball mixture and I think next time I make these I will be doing that to give the meatballs a little more zing.


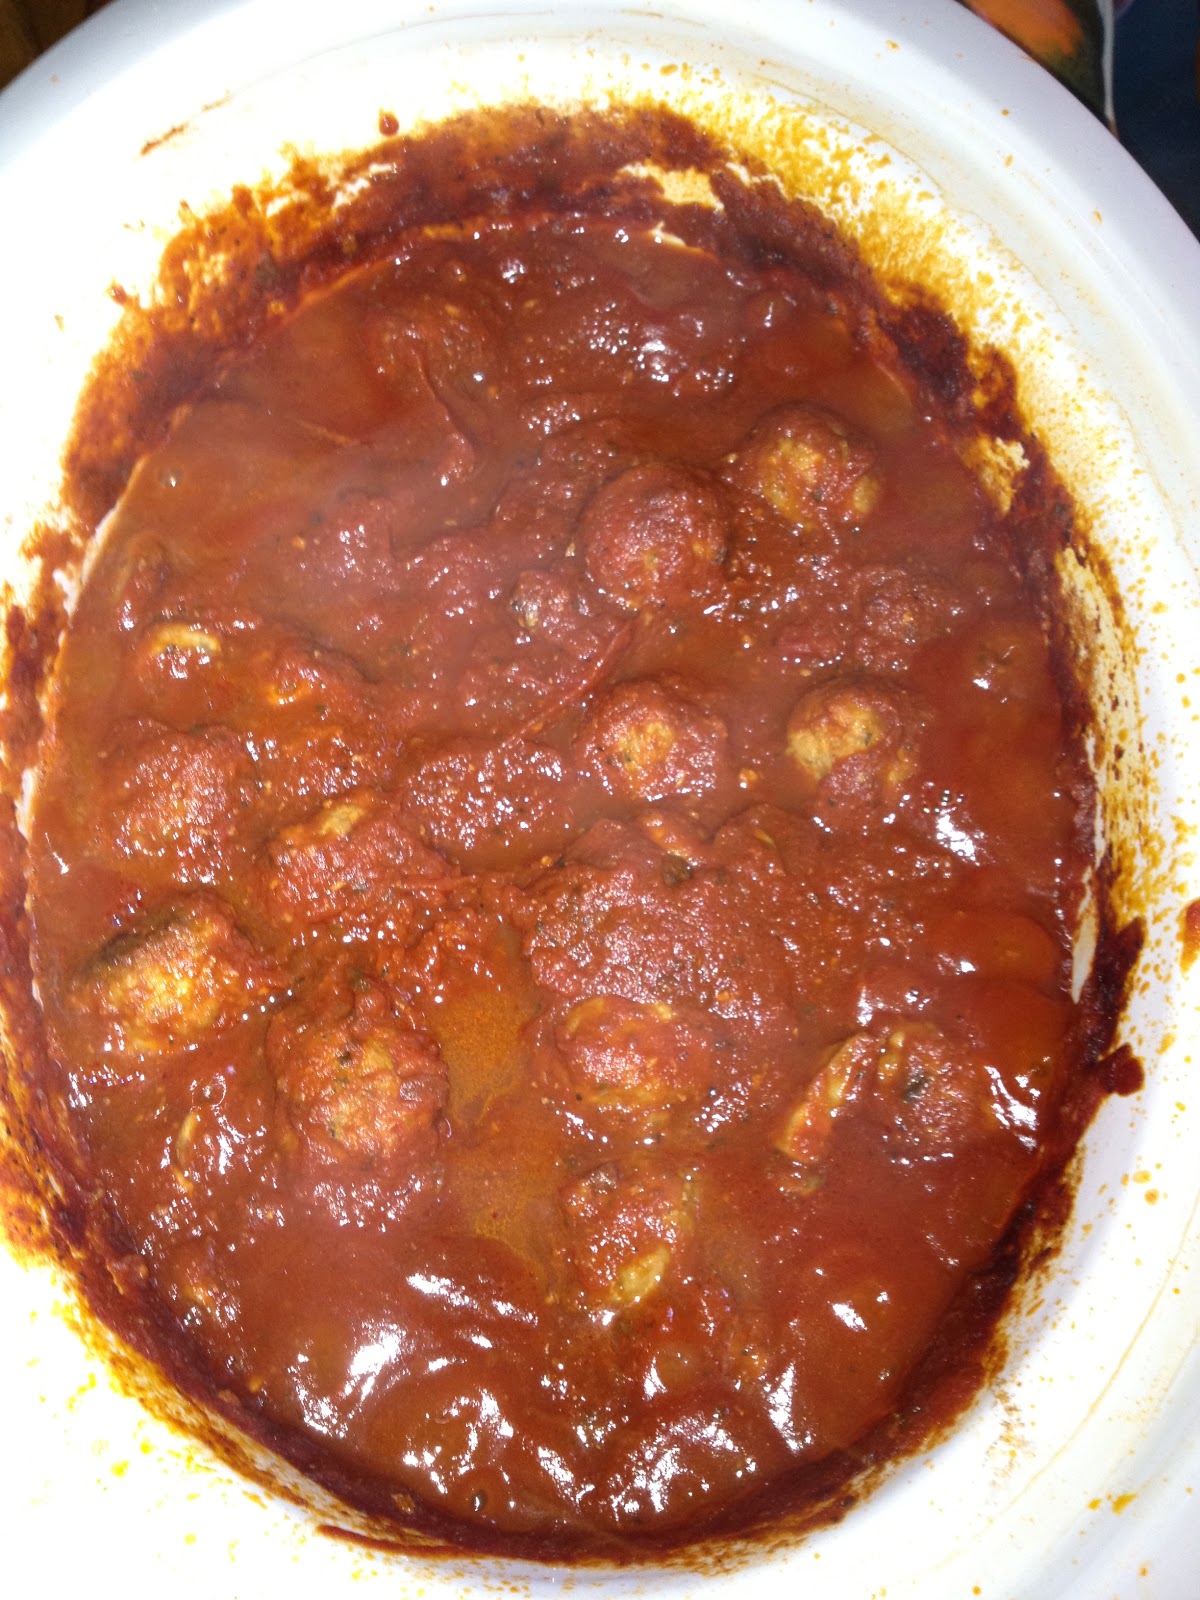
I served the meatballs over large rigatoni noodles with fresh Italian bread and Caesar salad.


Mangia! Mangia!


Saturday, February 4, 2012

Japanese Yams - oh the yumminess

A few months ago when we were at the ol'in-laws for a few days, they served us Japanese Yams with dinner.  Now, the Honey-Hub and I have never had much of a taste for yams but these are different!  They are less starchy and less sweet than the traditional yam we are used to here.  They are also lower in calories than a traditional yam or regular potato as well as being healthier for you in other ways.

Where we live, they are not widely available in most grocery stores.  Safeway, Albertson's nor Fred Meyer carry them.  But I can find them at a local higher-end chain that we have here, Haggen's, and at the local Asian mega-mart, H Mart.

They are cheap too.  Haggen's has them for about a buck a pound and at H Mart they are priced less than $.60/lb although they are not as large as the ones found at Haggen's.

Japanese Yams, also called Asian Yams, Asian Sweet Potatoes, etc, have a dark purplish skin color but are white on the inside.

So far, I have cooked them two different ways, both of which are detailed in this post.  Honey-Hub prefers the first method and I prefer the second method so I suppose we shall have to find a happy-medium.  I look forward to making these for our friends at our next dinner gathering.

Method #1:  Baking Whole

Preheat the oven to 425 or 450.  Wash yams very well and pat dry.  Puncture the skin of each a few times with either a fork or a sharp knife.

Cut off a piece of foil for each yam that is plenty big enough to wrap the yam in.

Put the yam on top of the foil, and lightly rub a little EVOO into the skin of the yam.  Sprinkle lightly with some kosher salt.

Repeat for all yams you are baking.

Wrap each yam tightly in foil and put directly on the rack in the middle of the oven.


Bake for 45-60 minutes, or until the yams are soft and the skin removes easily.  Let the yams cool for about 10 min so they are easier to handle.  The best way to get the skin off is to just rub... it should peel off pretty easy.  You don't want to eat the skin.

Cut/mash up the skinless cooked yams and add a little butter, salt and pepper.  Enjoy!

Note:  It may take you a few times to perfect how long and at what exact temp to bake the yams.  You can also pre-cook them for a few minutes in the microwave to cut down the baking time.  A slightly under-baked Japanese Yam is NOT bad, but a perfectly baked one is delish!

Method #2:  Cubed and Roasted

Preheat oven to 350 or 375.  Wash yams very well and pat dry.  Peel the skin off with a vegetable peeler as you would any other sort of potato.

Cut up the peeled yams into 1"-1.5" pieces and put them in a bowl.

Toss with EVOO, kosher salt, fresh ground pepper and fresh, minced rosemary (all to taste).  I also tossed in a few pinches of my balsamic salt that I get from Whole Foods.

Arrange in a shallow baking dish and roast for about 30 minutes, giving them a toss after about 15 minutes.  They are done when the skin is still firm but the cubes are easily pierced with a fork.


As a tribute to my good friend, Jennifer, who is a missionary in France, I grated some Comte cheese over the top of the yams right after they came out of the oven with a Microplane graterTasty!


We had a few leftover cooked yams and they re-heated the next day very nicely for my lunch.

When I cleaned and cubed the yams, I went ahead and did 4 of them even though I only cooked 2 of them right away.  The remainder I sealed with our Food Saver and put in the freezer so they are ready, after a thaw, for a quick side-dish another night.


The baking dish seen in the pics is one of my Rachael Ray Bubble & Brown bakers.  I have several of them already and am slowly collecting her whole line of stoneware.  I LOVE them.  They bake/roast food great, clean up is a snap and the built-in handles make it easy to grab them out of the oven.

Mangia! Mangia!

Sunday, January 29, 2012

Slow-Cooker Cranberry Beef Roast

Tonight I made a cranberry beef roast in my slow cooker.  This recipe is adapted from the Slow Cooker Cranberry Roast I found on my favorite recipe site AllRecipes.com.  Today was the second time I've made this recipe and I made it slightly different both times.  But both times it was a big hit with Honey-Hub and he had high praises for the adaptations I made to the recipe.

Here's how to cook it.  The second time I made it (today) I decided to add mushrooms to it for a rich mushroom gravy.

Ingredients:
1 (1oz) envelope dry onion soup mix.  I used Lipton's Onion Mushroom Soup Mix  1 (3-4lb) beef chuck roast
1 (16oz) can jellied cranberry sauce
4-6 whole garlic cloves

2 or 2 celery stalks, washed and chopped in to 2" pieces
1 cup (approx) chopped dried or fresh mushrooms.  I use the dried mix that Costco sells in the huge, tall container.
1 or 2 sprigs of fresh rosemary
1 small bottle (6-8oz) of either red cooking wine or a full-bodied wine such as a Merlot or a Cabernet
salt, pepper, garlic powder (to taste)
flour or cornstarch (for thickening)

First I tenderized (not heavily... just a little bit on each side) the roast with my Pampered Chef meat tenderizer (that also doubles as a weapon in a pinch).


I then rubbed a mixture of kosher salt, fresh ground black pepper and garlic powder over the whole roast. I did a light rub as the soup mix contains salt and other spices.

I sprinkled the package of dry soup mix on the bottom of the (empty) slow cooker.

I then placed the tenderized and seasoned roast on top of the dry soup mix.  I tucked a few (4-5) loose leaves of the fresh rosemary in to slits in the roast.

I placed the cut celery and the mushrooms around the roast in the slow cooker.

I peeled the garlic, smashed with my chef's knife, and placed them in with the celery and the mushrooms.

I then took the jellied cranberry sauce out of the can and sliced it in to 1/2" slices.  I placed the slices over the top of the roast.

I put the rosemary sprig on top of the cranberry sauce.

Over everything I poured a small bottle of Cabernet Sauvignon wine.  I like these wines that are put out by Gallo in 187ml 4-packs:


Then the lid was put on to the slow cooker and it was set to cook on low.  There's no need to stir anything.  You can literally just walk away and check on it in a few hours.  The cranberry sauce will liquify and along with the juices and fats from the roast, plenty of liquid joins the wine to keep things moist.


How long to cook is always a challenge.  I have a newer slow cooker and the sucker cooks hot and quick if I don't watch it.  Every recipe I have ever followed in my slow cooker needed a lot less time in my cooker than the recipe called for.  Tonight I pulled the roast out after 4 hours and Honey-Hub said I probably could have pulled it 30 minutes sooner.

About 4 hours later, the roast was cooked.

I turned the slow cooker down to "keep warm" and turned on the oven for the Japanese Yams (teaser.... instructions for these will follow soon).

I pulled the roast out and put it on a plate to rest.
Using a slotted spoon, I pulled out all the celery, mushrooms and garlic cloves out of the liquid in the slow cooker.  I discarded the celery and put the mushrooms and garlic in a small bowl.

I then thickened the remaining liquid in to a rich gravy and added the mushrooms and garlic back in to it.

...and along with a Japanese Yam and a fresh roll, dinner was served!


We have more than enough for leftovers tomorrow night.

Mangia! Mangia!


Crispy sheets

Good cookware is important.  It really is.  It amazes me how long I've tolerated old, worn out or just plain cheaply-made cookware.  Good, quality cookware makes so much difference in my ratio of successes in the kitchen and my level of enjoyment.

A few months back I bought two new baking sheets at a local discount mart.  One of them is a large, sturdy metal one made by Wilton.  The other one, which was half the price of the first one, was a no-name brand, thin, flimsy piece-o-crap.

I hate that baking sheet.  It's going to get handed down to the Honey-Hub for him to use in the garage-man-cave.

I LOVE the Wilton sheet and every time I would bake up a batch of bacon (see recipe below), I had to do two rounds in the oven as one sheet is never big enough for a whole pound of bacon.

I really love every product I have ever bought from Rachael Ray's line of cookware so I decided to go see what she offers in the baking-sheet-arena.  SCORE!

I am now the proud owner of TWO of her Oven Lovin' 11"x17" Crispy Sheets.  I've used them once now to bake up a batch of bacon and they worked perfectly and cleaned up easy.  I would definitely buy them again or give them as a gift.  The orange rubber imbedded in the handles make grabbing the sheets an easy, no-slip process.

She also offers it in a 10"x15" size and I will probably add two of those to my collection in the near future.  And for those of you who want a whole set, well, she makes that too although the set does not include the large crispy sheet that I bought.


Baked Bacon
(forget frying!  Why deal with the mess?)

  • Preheat oven to 350 or 375 degrees.
  • Line large shallow baking sheet with foil.  Do not use the air-bake sheets that have no lip on them.  You need the lip to keep the grease in.  To do a whole pound of bacon at once, you will need two large sheets.
  • Lay bacon slices in sheets close together but not touching.
  • Bake for 10-15 min until done to desired crispiness. I let it go for a good solid 10-11 minutes and then I check on it every minute or so.
  • Transfer to plate lined with paper towels to drain.  Pat down firmly on top with paper towel to soak up extra grease.
  • Clean up is a snap.  Just carefully fold up the foil, keeping the grease inside and throw away.  If you want to keep the grease, pull, the foil out and let the grease drip back in to the pan and then pour it in to your desired container.
  • Wash both sheets.  
  • Pour a drink of some sort and eat your bacon!


Saturday, January 28, 2012

Putting the pot on to simmer

Photo credit: http://www.freedigitalphotos.net/images/view_photog.php?photogid=345
Welcome to my new blog!

I'm a work-at-home accountant by day and a wife by day and night.  I handle most of the grocery shopping, meal planning and cooking for my husband and myself.  Over the past few years, I've started to take a lot more enjoyment out of cooking great meals.

I *think* I'm approaching the status of "gourmet cook."  I believe in high quality ingredients and cookware.  If we had a better kitchen, ie more room and a gas-powered range (vs the electric one we have) I do believe I could achieve that coveted "gourmet" status.  Until then I suppose I shall be an "almost gourmet."

The older I get, the more picky I am about what we eat, what I take the time to prepare, what ingredients I use and the equipment I use to cook it.  I find that as we age, food becomes more of an experience to savor and less of a means to supply our bodies with energy.  We become more selective about what we eat, choosing quality over quantity.  And as our budgets grow and allow, we are much more likely to buy (and use!) that $30 bottle of rare, aged balsamic vinegar over the (much!) cheaper stuff out there.  A high-quality aged balsamic can add so much depth to a recipe.

My mother was a true gourmet cook when I was growing up and she taught me much of what I know with the basis to not be afraid to be adventurous and try new ideas.  As a result of that, I am very confident in the kitchen and I am often composing completely new recipes in my head.  I rarely follow a recipe completely and often change or add ingredients.  99% of the time, the recipe is improved.

I often post on Facebook about what I am cooking and many of my friends seem to enjoy my posts.  So, I decided to start writing this blog as a diary of my cooking adventures with pics and recipes.  I enjoy writing and this will be a nice diversion from my busy accounting life.